


How to get started with GIT and GITHUB?
First of all I would want to take few minutes to introduce myself:
My name is Shivam Bhat
I am 26 years old.
I am a Computer Science Student.
I have been Working for Amazon in Operations Domain for 3 years and nowhere i am satisfied with current me.Currently I am trying to up skill myself to make a transition into the Field of data Science.I want to explore more & learn as much as I can.
I am investing as much time i can and also i know that it isn't sufficient for getting career change,but again doing something is better than nothing.
Hence I am trying to make efforts to learn something everyday and make a fruitful change in my life to make my dream possible and it doesn't matter how long it takes as long as you keep trying you are bound to succeed.
I would like to thank Ruth Ikegah for suggesting me to write here.This is my first Technical/non-Technical write up ever.
Please be kind 😓
Let's get started up with how i learnt using GIT:
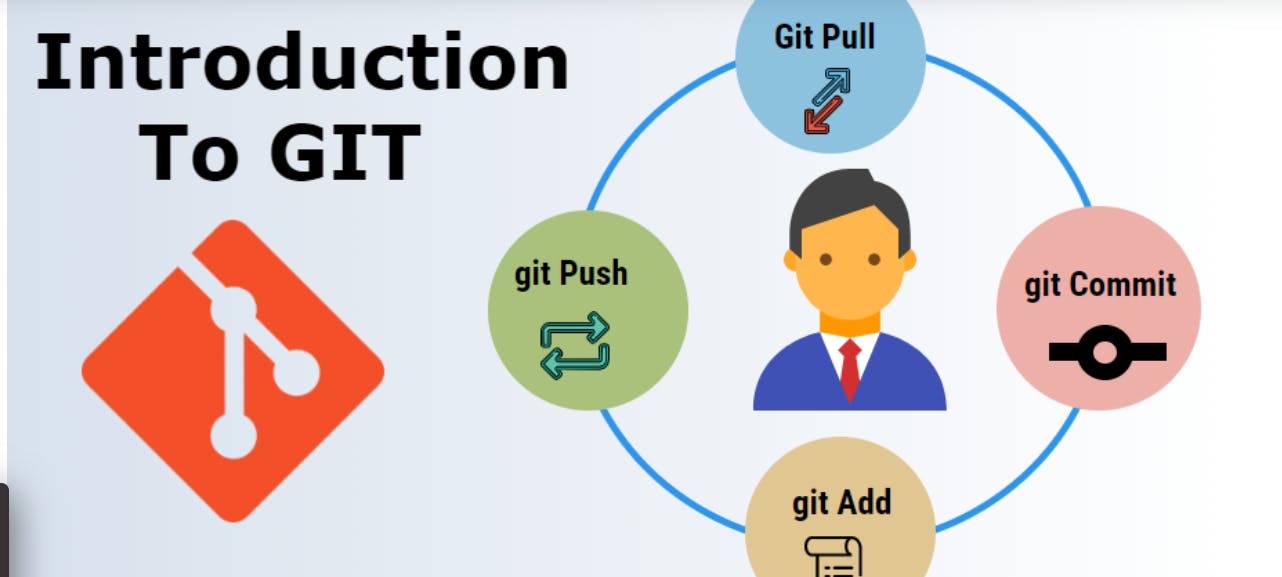
What is GIT?
A Version Control system for tracking changes in computer file & coordinating work on files among multiple users.
Git is known for its Distributed Version control system ,So GIT dies not necessarily rely on central server to store all the versions of project's files.
Instead every user "clones" a copy of repository{ie. collection of files} & has full history of project on their own hard drive.
Hence in simpler terms in Distribution Version control system every machine contains their own copy/Local repository which can be accessed by the team unlike in Centralized version control system.
Trunk Based Development
Trunk-based development (TBD) is software development strategy where engineers merge smaller changes more frequently into the Master/Trunk and work off the trunk copy rather than work on long-lived feature branches. This development model is often leveraged as part of a continuous integration development workflow.
Why Trunk Based Development?
When so many engineers are working on some code,it is important to have strategy for source control so that individuals can work together. To avoid overriding,individuals create their own cop of codebase in form of branches
Following an analogy of a tree, the master copy is sometimes called the mainline or the trunk. The process of incorporating the changes of an individual's copy into the main master trunk is called merging.
To understand how trunk-based development, it's useful to first look at the alternative strategy, feature branch development.
In feature branch development, individual software developers or teams of engineers do not merge their new branch until a feature is complete, sometimes working for weeks or months at a time on a separate copy.
Feature-Branched Development
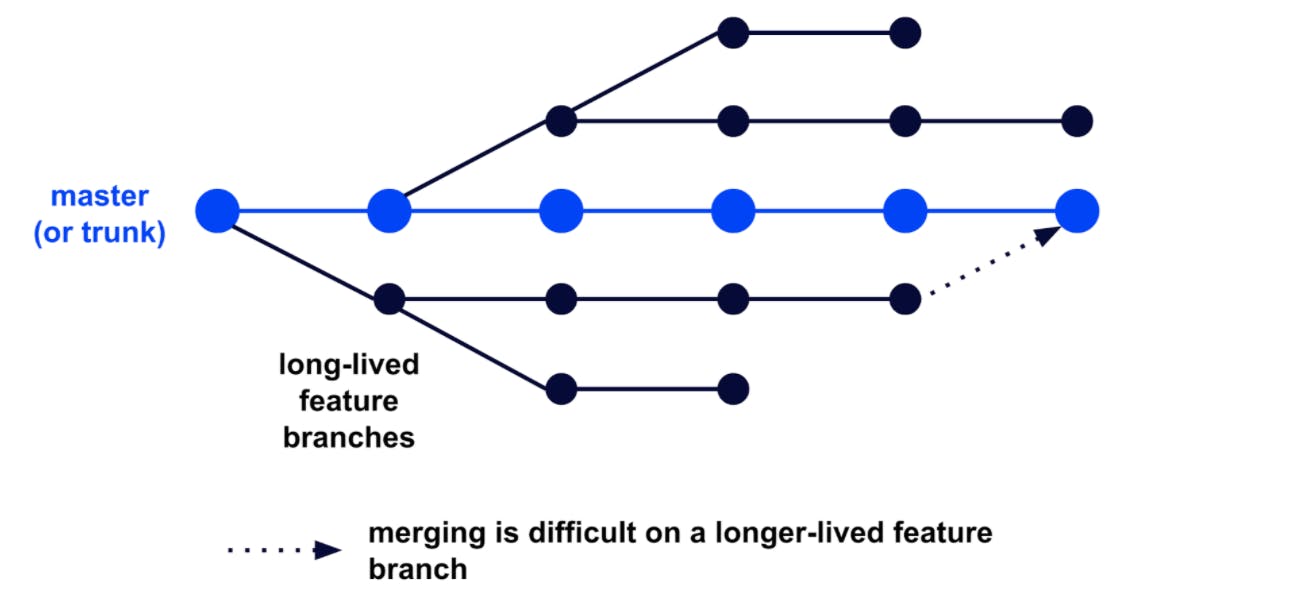
The idea is that each feature should be developed in its own branch. When the feature is done, it gets merged into Master branch. This long stretch of time can make the process of merging difficult because the trunk or master branch has likely changed due to other engineers merging their code changes and version control gets difficult. This feature branching can result in a lengthy code review process when looking to create a release branch to be deployed.
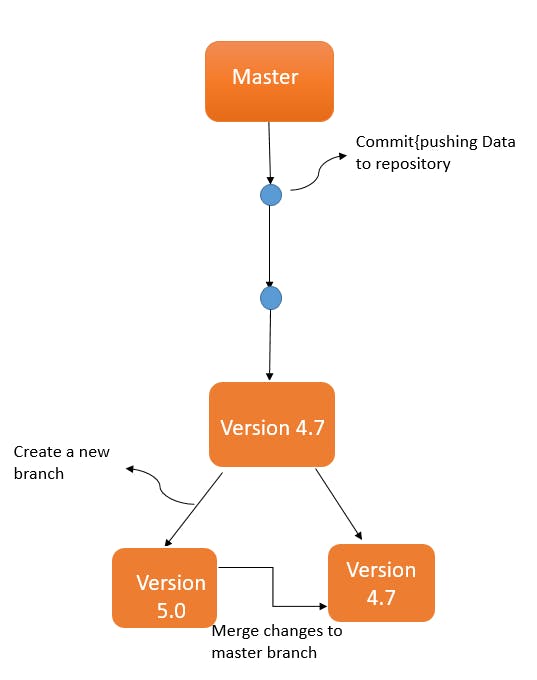
To Understand better,Let's demonstrate this example with the help of diagram listed above:
Suppose We are working on version 4.7 for a project & after new feature is added, we get a new version ie. 5.0.
And if there is bug after testing the current version ie. 4.7,hence it is our responsibility to revisit the previous version & fix it so that new version is not affected.
So in order to work on both project versions simultaneously,we make use of Trunk based Development System.
GIT Workflow
Keywords:
Git local repository is the one on which we will make local changes, typically this local repository is on our computer.
Git remote repository is the one of the server, typically a machine situated at 42 miles away.
The staging area is like a rough draft space, it's where you can add the version of a file or multiple files that you want to save in your next commit (in other words in the next version of your project.)
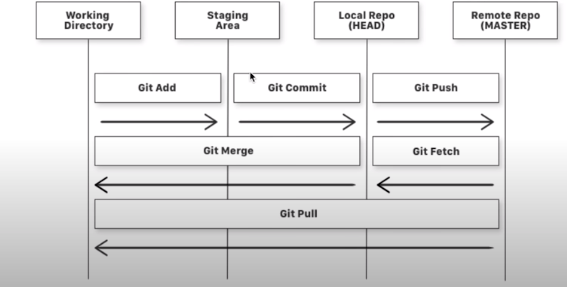
To understand GIT better, I have illustrated GIT workflow so that we can easily understand the flow & mechanism of GIT.
There is a working directory in our system which we need to initialize: It can be anything- In my instance For eg: C:\Users\shivbhat\Desktop*learngitrepo*
In this example learngitrepo is my working directory in which I will be storing files where I have written some code.
Hence to save in local repository,we have to add the files in staging area so that we can review any changes before saving the files.
And after the files are in staging area , We commit (save) so that the files can be stored in Local repository on our Local machine.
Later we can push the changes in files to Remote repository or pull grabs any changes from the GitHub repository and merges them into your local repository.
This shows that GIT is distributed version control System where an individual can have their own copy of data despite being stored on server . So in case if the server fails,a user can easily retrieve their own copy on Local Machine.
GIT Commands
- git init: It is used to initialize a Git repository for a new/existing project.
- git add: It is used to add files to index
- git status: Lists the files you have changed & those which you need to add.
- git commit -m : commit(save) changes to head
- git commit -am " message " : Adds and commit(save) changes to head at same time.
- git rm -- cached Removes files from staging area or unstage.
- git branch Creates a Branch with name as Branch name.
- git checkout Switches from the current Branch to desired branch.
- git merge Merges changes into current Branch
- git remote add origin To communicate local repository to remote,we use this command to add remote/remotes named origin where we attach the link of remote repo. Once you do this, in your push commands, you can push to origin instead of typing out the whole URL.
- git push -u origin master : push the commits in local branch named Master to remote named origin. Once this is executed, all the stuff that you last synchronised with origin will be sent to the remote repository and other people will be able to see them there.
- git remote -v: checks no. of remote links.
- git rm rf : removes the directory
- git log : allows you to view information about previous commits that have occurred in a project.
- git config : used to set Git configuration values on a global or local project level.
- git add . : adds all the files that have been changed.
- ls : Lists the files in Local directory/repo,used in Git Bash.
- pwd: Prints the current directory,used in Git Bash.
Please do not get worried by looking at so many commands, we will be revisiting these when we get started in our next section.
How to get started with Git & Git Hub
Firstly I would like to cover to use GIT , two popular terminal programs are used:
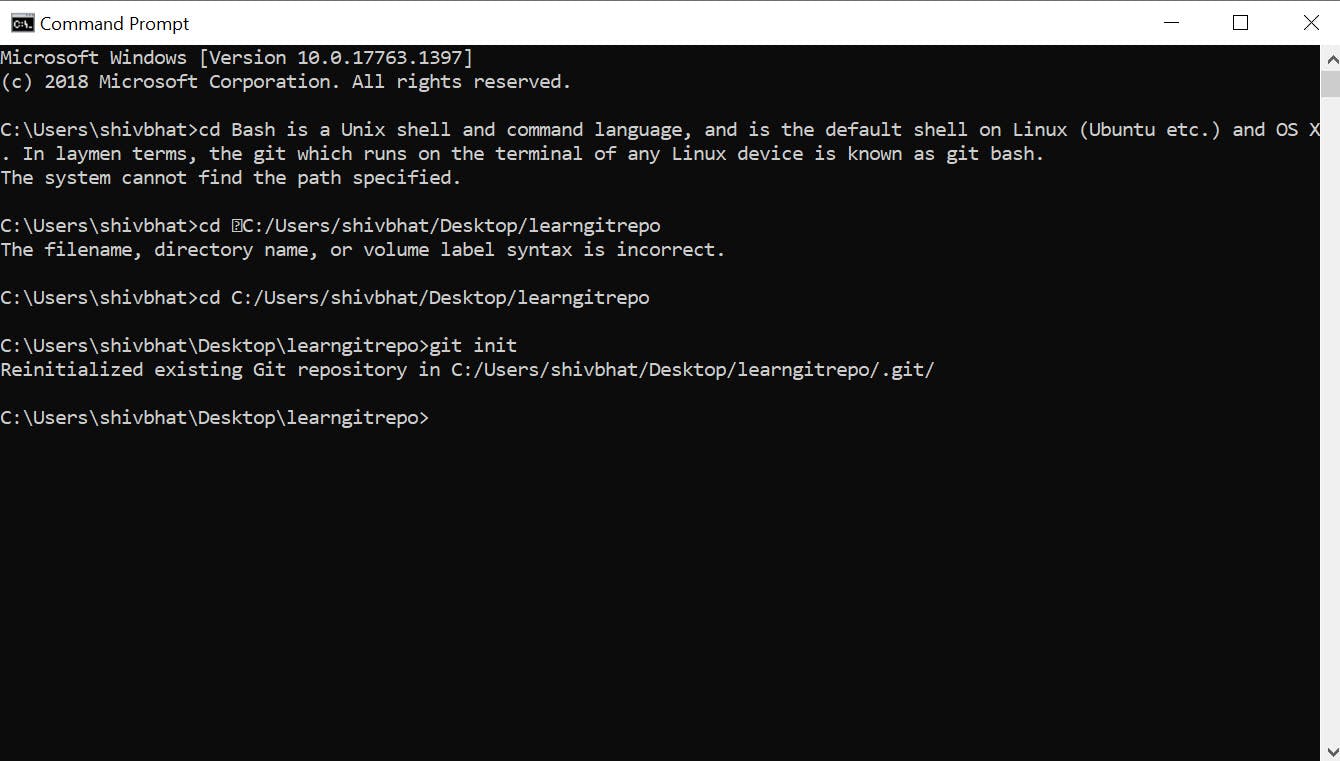
1.Git CMD:
(Command Line prompt) is the command-line interpreter on Windows operating systems. Sort of an equivalent to the bad-ass terminal in Linux, when you install git on windows and you are used to using command line, one uses cmd to run git commands.
2.Git Bash:
Bash is a Unix shell and command language, and is the default shell on Linux (Ubuntu etc.) and OS X. In laymen terms, the git which runs on the terminal of any Linux device is known as git bash.
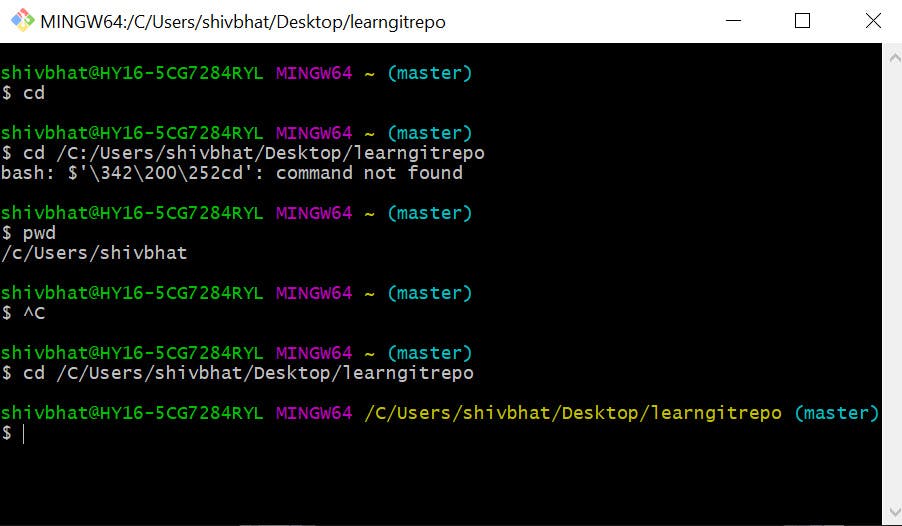
Here I will be demonstrating how to use GIT on Git bash:
Now time to use the tool of hackers 😁
a.) To get started with Git on Git Bash, we need to set the path for directory by using cd command ie. change directory so that we can communicate using Local repository.

b.) Firstly We need to initialize a git repository for new/existing project using git init.

c.)To add new files in repository,we use git add which gets stored in staging area. And to check the status of file one added, we can use git status .
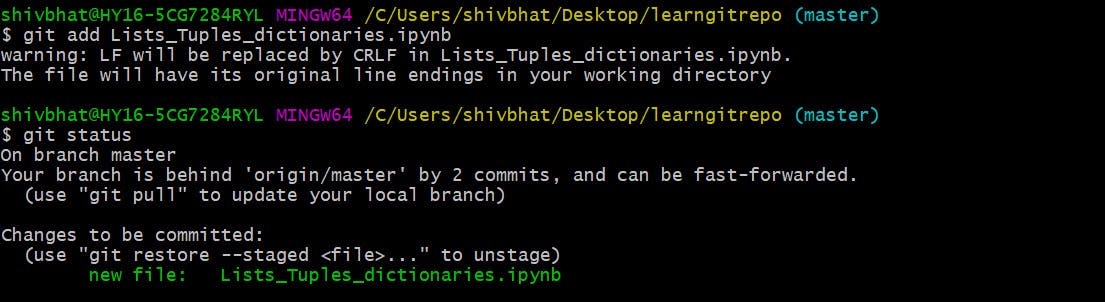
Once the files have been added ,but still the files will not be saved and will be in staging area.
d.)Next,We need to save the files , so that these files are visible in Local repo.We use Git Commit.

e.)Next,I will show how we can use other commands on GIT so that we can also interact with remote repo :
git branch:
We will create a branch so that we can work individually without affecting master Branch and and once the task have been accomplished later ,then we can just merge changes to master .

git checkout:
Next We can use this command when we want to switch from current Branch to another.

git merge:
Once all the changes have been made in Branches and is ready to be integrated into master , so we can use use this command to merge the changes to master branch.

Now we are going to jump to Section of Git Hub where I will demonstrate that how to get started with Git Hub:
Now I know its very spontaneous, And you folks must be in dilemma that why all of a sudden we are navigating from GIT to GIT HUB without even covering GIT completely. But to understand functionality of Git with respect to Git Hub, We need to know how & why do we use GIT HUB.
Hence I would suggest you to get started with GIT HUB first before proceeding down , please use this link Github
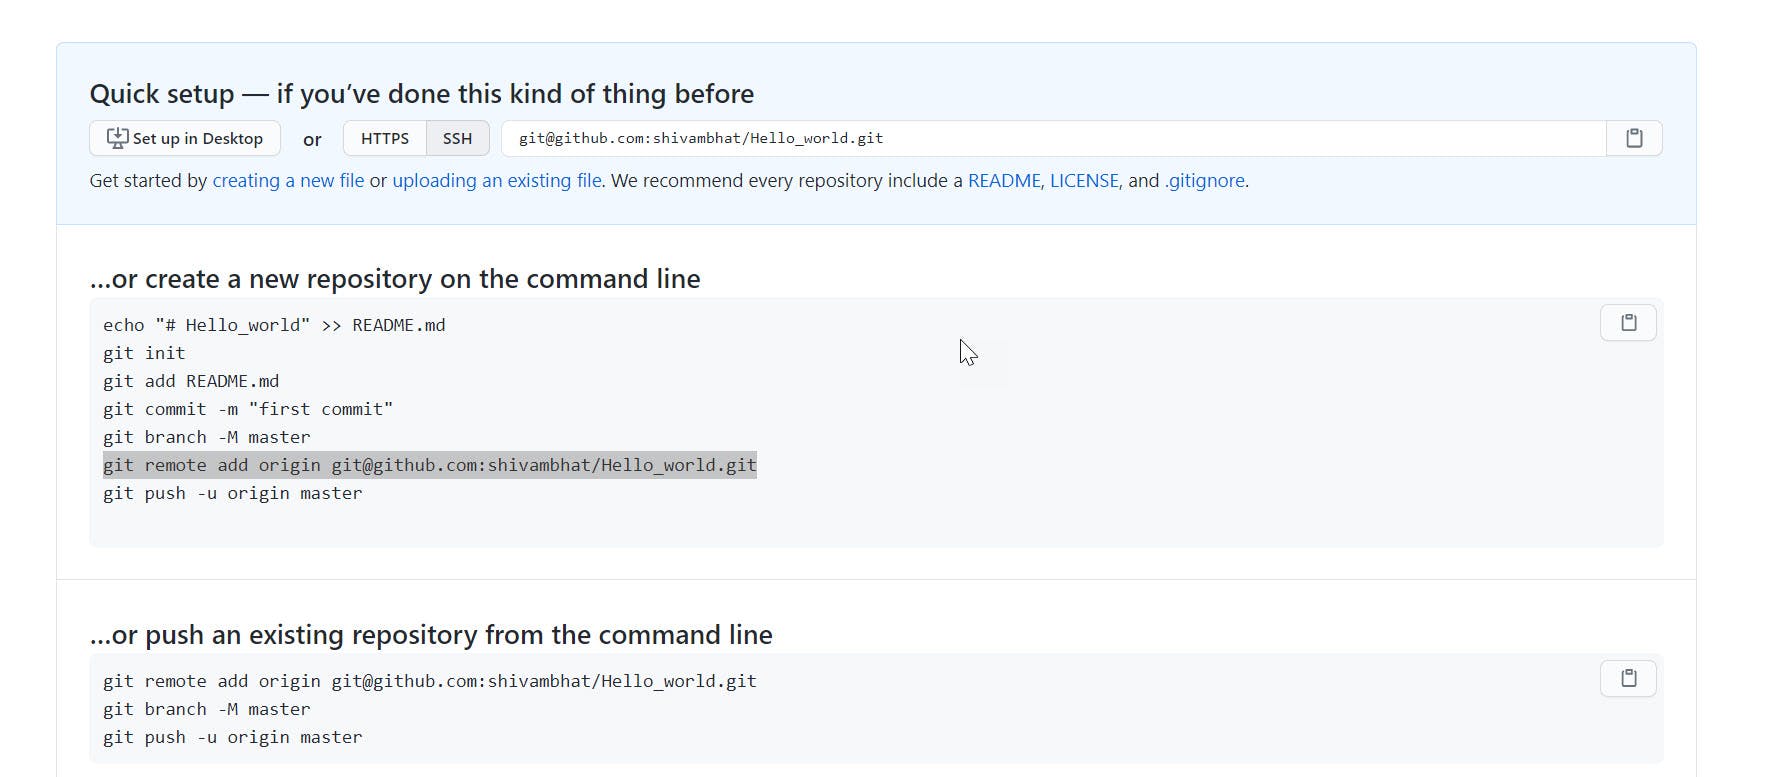
git remote add origin (link):
To communicate local repository to remote,we use this command to add remote/remotes named origin where we attach the link of remote repo. Once you do this, in your push commands, you can push to origin instead of typing out the whole URL.
This remote repository link can be found in GitHub once you create a new repository.
The Highlighted link in the picture is remote link which we can use to communicate with remote repository.
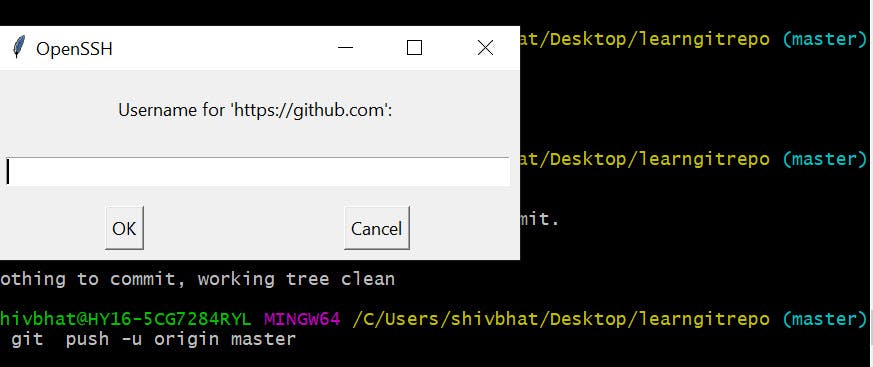
git push:
We use this command to incorporate the changes to remote Branch which we can find in GitHub. To understand about GitHub, we will be talking about it later in another section.
For now just remember that there is a remote repository in Github which is a platform for hosting repositories. As git push implies by its name that files/commits will be pushed & integrated in remote repository.
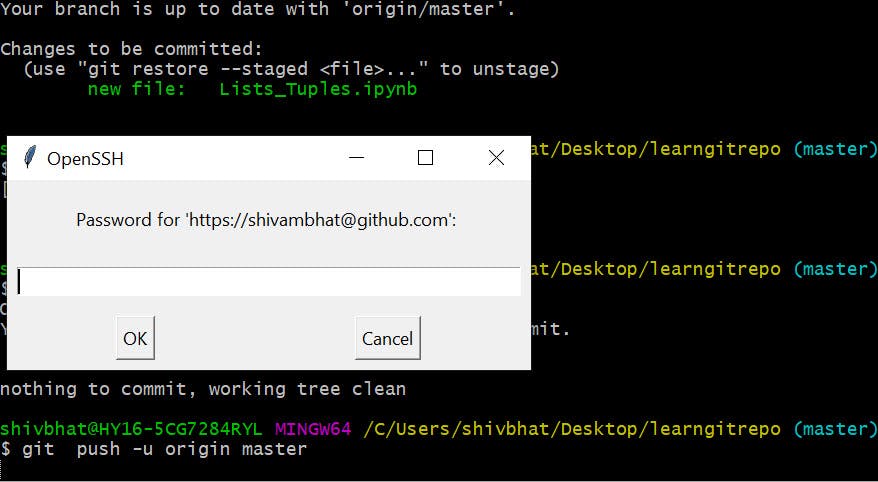
After using this command , it will be triggered to open this dialog box where we will be required to enter our username & password which we used in Git Hub.
Output:
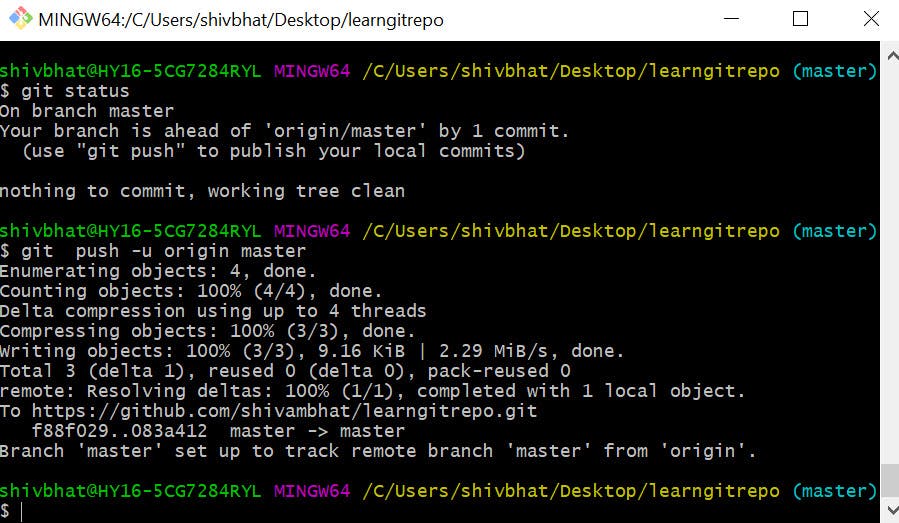
Once this is executed, all the stuff that you last synchronized with origin will be sent to the remote repository and other people will be able to see them there.
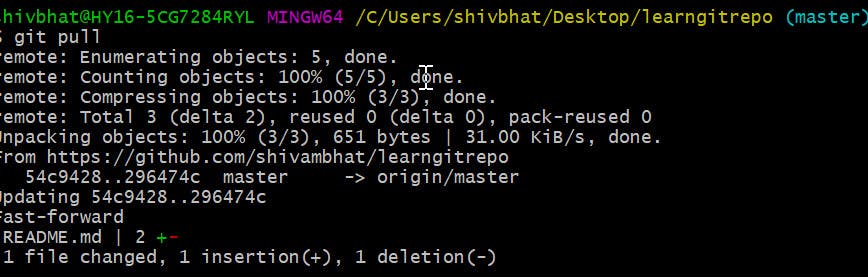
git pull:
Similarly we can use this command to pull any changes made in remote repository at Git Hub and sync on local repository which is on our local machine.
Further reading
Thanks for reading my very first blog!
If it was useful to you, please Like/Share so that, it reaches others as well. To get email notification on my latest posts, please subscribe to my blog by hitting the Subscribe button at the top of the page.
Follow me on twitter @thatanimeguy23